
Kubernetes Installation
Run DataBuff on a Kubernetes cluster — Doris, Ingest, and Web are deployed automatically in order.
1. Prerequisites
- A Kubernetes cluster
- kubectl with cluster access
- Recommended: 8C16G (8 CPU cores / 16 GB RAM)
2. Install the Platform
curl -fsSL https://databuff.ai/databuff/ai-apm-k8s-install.sh | bashAfter installation, the terminal prints the Web UI URL, namespace, and access details. Default namespace: databuff.
| Purpose | Address |
|---|---|
| Web UI | http://<node-ip>:32703 |
| Default login | admin / Databuff@123 |
| OTLP gRPC | <node-ip>:30417 |
| OTLP HTTP | http://<node-ip>:30418 |
In-cluster agents: http://ai-apm-ingest:4318 (gRPC ai-apm-ingest:4317). NodePorts are for external access. To connect your own apps, see OpenTelemetry OTLP Ingestion; for zero-instrumentation collection see eBPF Ingestion, for entry Nginx see Nginx Ingestion.
Offline Images (Optional)
When nodes cannot pull images:
curl -fsSL https://databuff.ai/databuff/ai-apm-k8s-download-images.sh | bashSee Kubernetes Operations — Offline Images.
Install a specific version:
curl -fsSL https://databuff.ai/databuff/ai-apm-k8s-install.sh | bash -s -- --version 0.1.10
# or
APM_VERSION=0.1.10 curl -fsSL https://databuff.ai/databuff/ai-apm-k8s-install.sh | bashOperations: Kubernetes Operations Reference — start/stop, NodePort access, offline images, scaling.
3. Install the Demo (Optional)
Let the demo app report traces to the platform and quickly see call chains and topology.
curl -fsSL https://databuff.ai/databuff/ai-apm-demo-k8s-install.sh | bash4. Post-Install Verification
- Open
http://<node-ip>:32703and sign in with the default account - APM → Service List — confirm demo services have data
- (Optional) Configuration → Model Settings — enter your API key to enable AI:
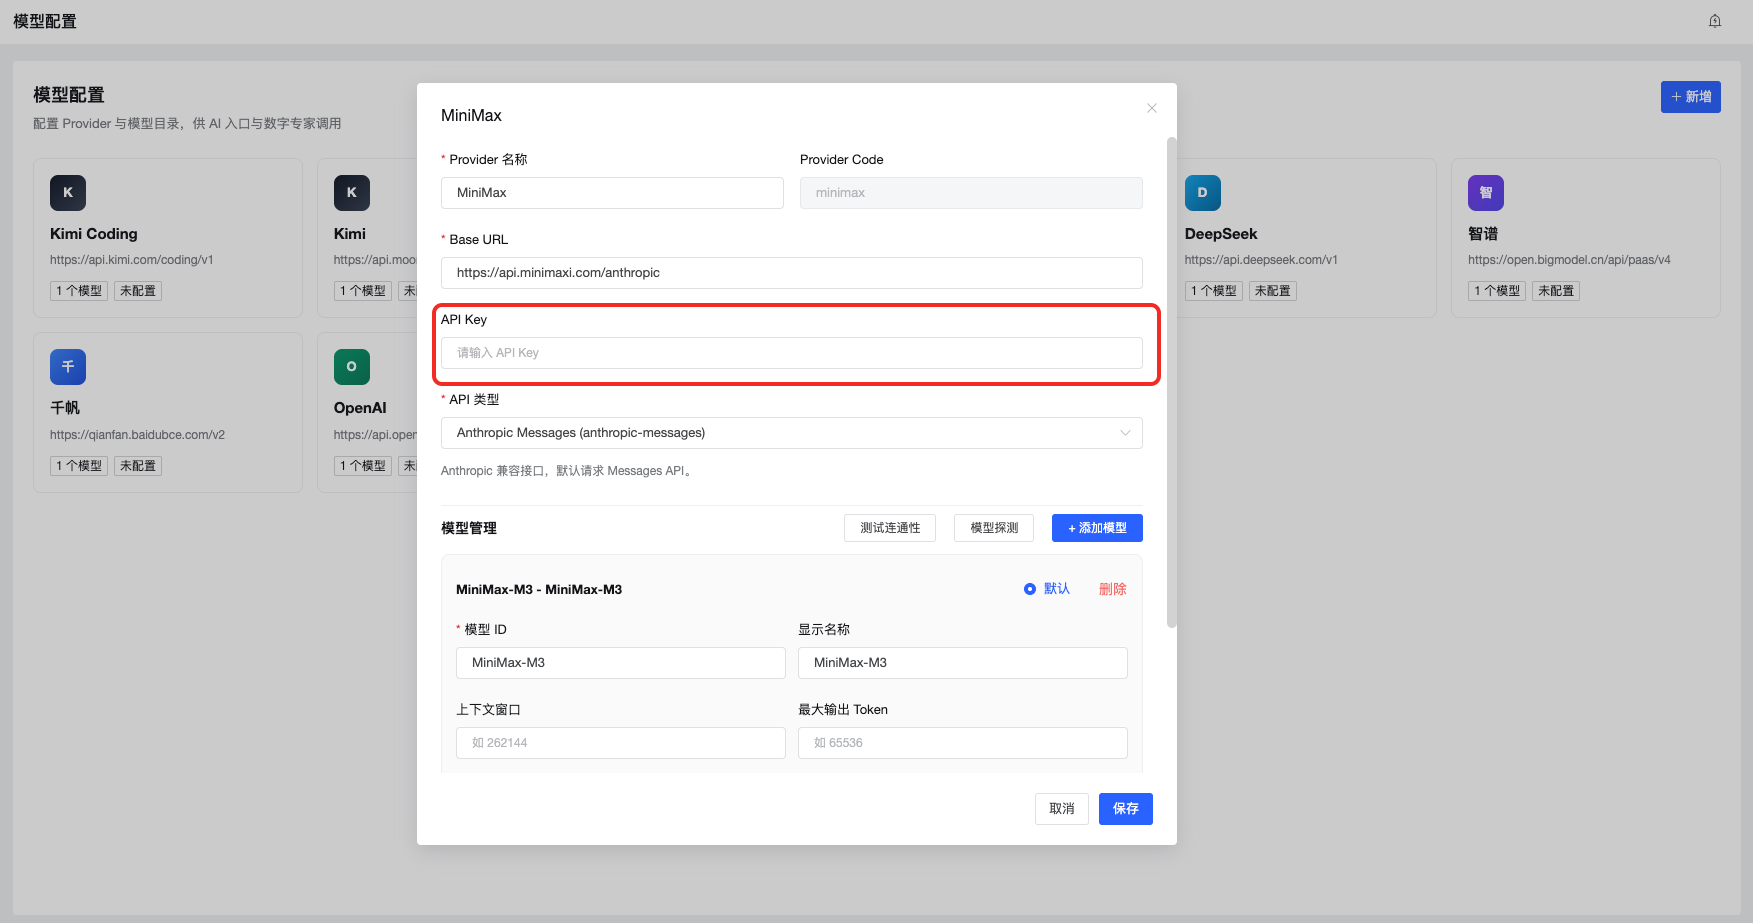
Example AI query: "Query service list for the last hour"